Food photography is a specialized niche that has become popular over the past few years. Social media is flooded with food photos that are eye-catching. If you love taking photos of food, then consider starting with food photography.
It is not very complicated; all you need to do is click photos of dishes. The aim should be to make the food look delicious making the audience want to go and eat it now. If you want to be an effective food photographer, you’re going to first need the essentials. These include a professional camera and a photography studio rental service so that you have a controlled environment for taking pictures. Beyond that, we have some tips you could go through. Start implementing them and watch your photos get appreciation.
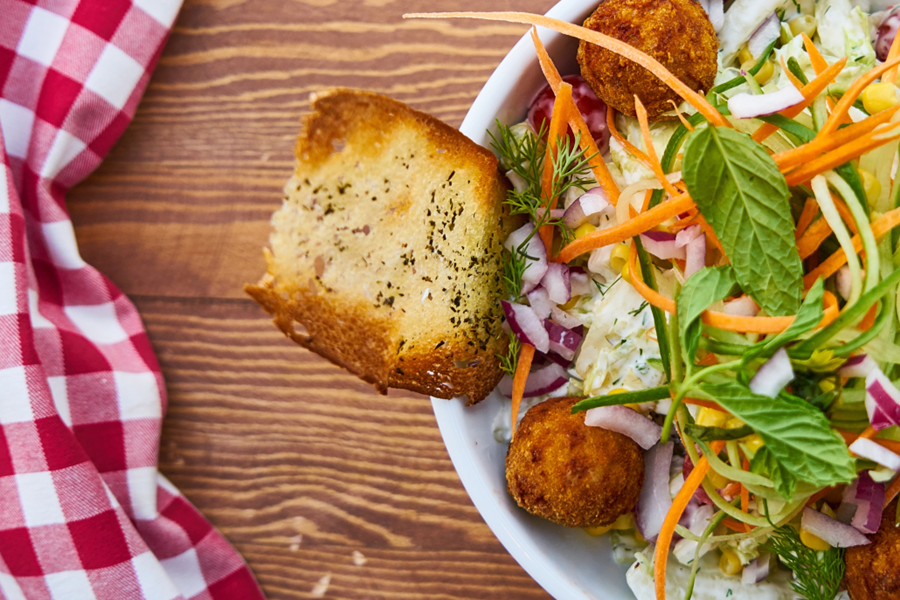
First and foremost, effective food photography involves experimenting with different cuisines and dishes. For instance, Soho in London offers a wide array of lunch spots ranging from upscale bistros to casual eateries featuring Israeli cuisine. Trying the eclectic soho lunch spots allows you to capture diverse meals. You can photograph the hummus, falafel, shakshuka and other Israeli specialties found in the vibrant restaurants. Exposing yourself to different foods will give you inspiration and unique images to add to your portfolio.
Free image via StockFreeImages.com
10 effective food photography tips
1) Lighting is important
Proper lighting can make ordinary photography look wonderful. If you have a studio where you do your photography, make sure to not only go for LED LIGHTING INSTALLATION to light up the space the way you want but also invest in independent and portable lights that you can move around as needed. Further, there are two devices that you can consider using to improve the lighting:
- Deflectors are devices that can soften or tone the shadow edges that form in a photo.
- Diffusers are attached to a flash and can diffuse the harshness of the light falling on the photo.
Using harsh direct light is also a good option in food photography. It helps in making the food look fantastic. Where possible, try to use natural light for your photography.
2) Get the angle right
Most food photographers use an overhead angle, i.e.: from the top. The problem with this angle is that it is not the view the diner sees. Take a photograph seated before the dish just like a diner. This view would look more natural. Photograph the food from different angles. This will help you work out which one looks the best.
3) Use props to make the photo appealing
Using props can make your photo look appealing. When you use props, you are adding a professional touch to the photo. Some interesting props you can consider using are:
- Cutting boards, which look good against a white tablecloth.
- Vintage cutlery and knives.
- Ceramic bowls that are rustic and don’t shine.
- Linen with patterns on it to create a picnic-like feel.
- Flowers or plants on the table can take the photo to a different level.
- Mixers or pouring glasses.
- You can place the ingredients used to make the dish around the plate.
4) Start shooting before the food is prepared
You don’t have to wait until the food is ready and plated. Start shooting even as the food is being prepared. A photo of the dish as it is being cooked can look appealing. Even half-cooked dishes can look attractive. You can take photos of the good at the different stages of cooking. This will give you a collection of photos, and you can choose the best among them.
5) Leave blank space
Blank space is essential to make the dish stand out in the photo. A mistake that amateur photographers usually make is to zoom into the dish or fill the frame with the dish. Leaving blank space makes the photo look better. Follow the rule of thirds to do this.
6) Take the photo as soon as it is plated
When you are taking a photo of plated food, take it immediately after it is plated. Don’t wait for long, since the food texture and color may change. For example, greens like lettuce can wilt after some time. Click as soon as the plating is done, so it looks fresh.
7) Add movements or human elements
Adding movements can make the photo look dynamic instead of static. For instance, you can take a photo of a sauce being added to a dish or coffee being poured into a cup. The movement adds action to the photo. You can even include people in the photo.
8) Create a story in the photo
To add an extra layer of appeal to the dish, add a story to the dish. You can do this by including elements that outline the origin of the dish. Furthermore, you can even add elements that highlight the season when this food is usually prepared. Adding movement and using props can help you create the story. The story approach will help you create an emotional connection with the viewer.
9) Avoid over saturating the photo
Amateurs tend to over-saturate the photo with colors. While bright colors look appealing, overdoing it looks clumsy. If you want the photo to be professional, let the colors be natural.
10) Editing can make the difference
Once you have taken the photos, edit them. Editing can help you correct minor errors and also embellish the image. Use good software like Adobe Lightroom or Photoshop to do a professional editing job.