There are no words more closely associated with the making of movies than Lights – Camera – Action. And while there is so much goes into the making of a great film; the script, the acting, the directing, the costumes and make-up, the set design, and the special effects; it is the often-overlooked lighting effects that can be the real scene-stealers.
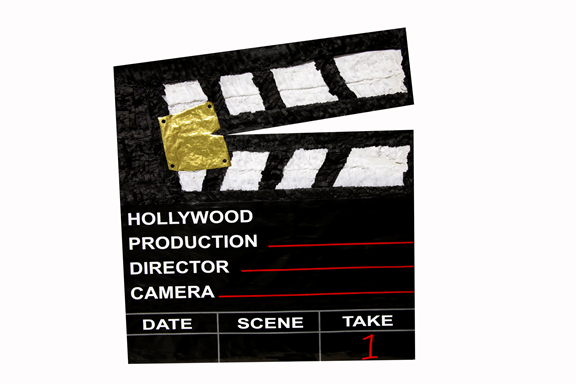
Photo © Karen Foley – Dreamstime
We may not think much about lighting in film, after all when it’s done right it appears effortless. But when you watch a movie closely, you cannot miss how great lighting techniques add to the overall quality of the film, sets the mood for a scene, or helps to highlight key elements of the plot.
Fortunately, the techniques for cinematic lighting are fairly straightforward, and once understood and practiced, can easily be incorporated into whatever footage you want to shoot.
Use the right kind light
There are two main designations for light: hard or soft.
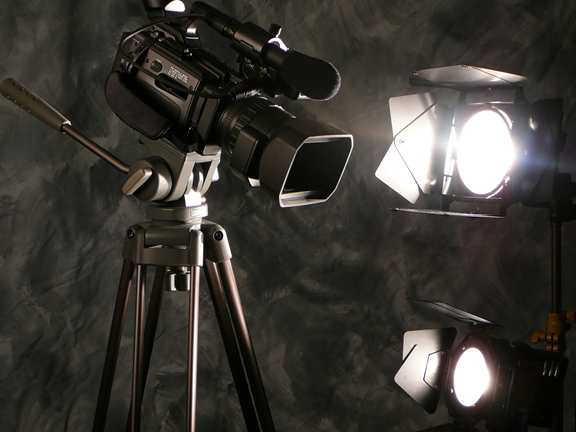
Photo © Jruffa – Dreamstime
Hard light, also called direct light, it light directly from a source that strikes the subject unfiltered – think of a light from a flash, or a bright glaring sunlight. This light produces sharp shadows and contrasts. Hard light is useful to produce stark conditions like the blazing sun in a desert, or to create dramatic shadows to emphasize facial features roughened with time.
Soft light, or diffused light, is light that has been scattered before it reaches the subject – like sunlight filtered through clouds or a light bounced off a reflective white surface. This light produces less contrast and fewer harsh shadows. Soft light is more appropriate for romantic scenes, or in creating an angelic setting or tone.
Highlight the Subject
Use light to emphasize the subject of the photo. Viewers’ eyes will naturally be drawn to the best-lit areas of a scene first. Use your strongest, main light to highlight the element or elements of a scene you want to have the most emphasis.
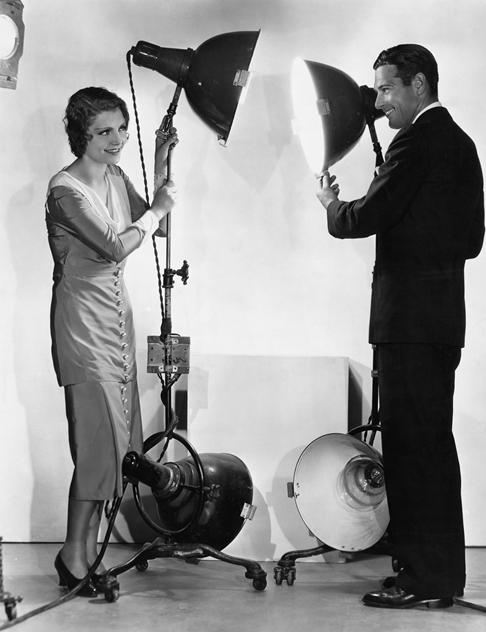
Photo © Everett Collection Inc. – Dreamstime
Add depth of field
Next add fill lights to help achieve a 3-dimensional effect in a 2-dimensional medium. Add lights to elements in the foreground, middle ground and background to differentiate the three planes. Add edge lighting to elements to help separate them from other object in the scene.
Go low or high key
Light can also induce a mood or tone in a picture.
High key lighting is a technique to reduce the lighting ratio – or the amount of contrast from bright to dim of the lights used – resulting in the loss of shadows and a smoothly lit scene. The use of high key lighting produces an upbeat, angelic, or other worldliness feel.
Low key lighting is the opposite. This lighting technique produces strong contrasts between the light and shadows with a sharp drop off around the subject. In a scene, this producing a dark and foreboding effect. Or use this technique to produce a dramatic or tension filled environment.
Light elements of the scene
Make scenes more realistic by adding lights to elements outside of the main subject that would naturally be a light source. Light the candles on the back table, or turn the desk lamps on to create a richer and more visually textured scene. Add light points to a forest scene to simulate lightning bugs on a warm summer evening. Your use of light elements is limited only by your imagination – and the more you include the more magical it will be for the viewer.

Photo © Leo Lintang – Dreamstime
Use the right light
Imitating natural light sources – like sunlight, moonlight, or street lamps – produces a more real-life scene for your images. A soft warm light source bounce off white reflectors will give the appearance of sunlight, while adding a blue gel and turning down the intensity will feel more like a magical moonlit evening. Shine a light through the diner window to simulate a streetlamp at night.
Make it colorful All light has a color tint. Natural sunlight is warm and causes a yellow or orange tint. Florescent and tungsten artificial lights are cold and will produce a blue tint. And any light can be transformed with the use of gels. Adding contrasting colors on various elements of a scene will make them more visually differential and interesting, and will help to draw attention to them.
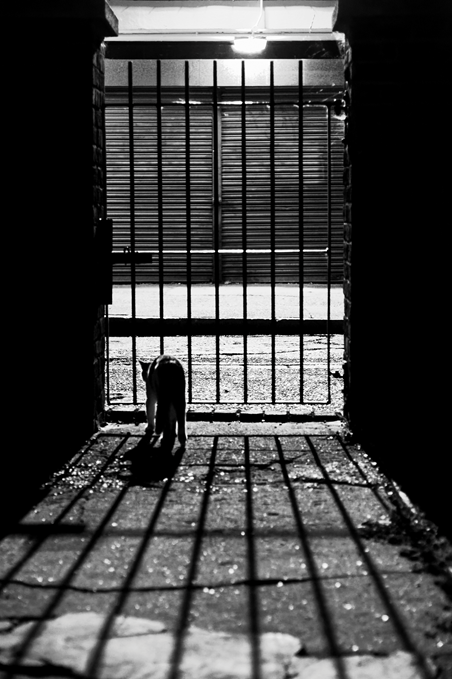
Photo © Patrizio Martorana – Dreamstime
Add drama and texture
Add texture to your lights by shooting through interesting shapes to add complex light and shadow patterns. Add vertical slats over your light to imitate widow blinds, add tree branches in your forest scenes, or shoot through a mesh grid when simulating an institution or prison scene.
Make use of shadows
While we often look into the light for the subject of a scene, making shadows a great place to hide things in plain sight. Tuck your hidden messages or demons into the shadows and challenge the viewer to find your secrets. Shoot the dark side of a subject by capturing the shadows at play as opposed to the brightly lit side.

Photo © Karen Foley – Dreamstime
While following these simple guidelines may not help you win an Academy Award for lighting, they are sure to make the next footage you shoot more dramatic and compelling.